Like many other developers, I have a handful of side projects I am working on at all times. My work is also my hobby. Whenever a new side project appears, I immediately pursue it because of the excitement of working on something new and shiny! I often feel like the developer in this comic by the excellent CommitStrip was written about me.

To support all these side projects, I obviously need an awesome machine to do this work on. I wanted to separate my work laptop and code from my personal projects. So, I decided recently that I’d purchase myself a new laptop on Black Friday. For what I wanted, however, I couldn’t convince myself to shell out that much money for a Mac. I could, however, buy a Windows laptop with all the specs I wanted (and more) for a much cheaper price. With that in mind, I researched for days, and found what I believed to be the perfect laptop! Come Black Friday, I snapped it up.
I finally had my perfect laptop and was ready to go. The last obstacle? Setting up a legit development environment. I was initially worried due to having used Linux and macOS for development the last few years. Lucky for me, Windows 10 with the latest Creators Update has fantastic improvements to the Windows developer environment. At the center of it all? Windows Subsystem for Linux, or WSL.
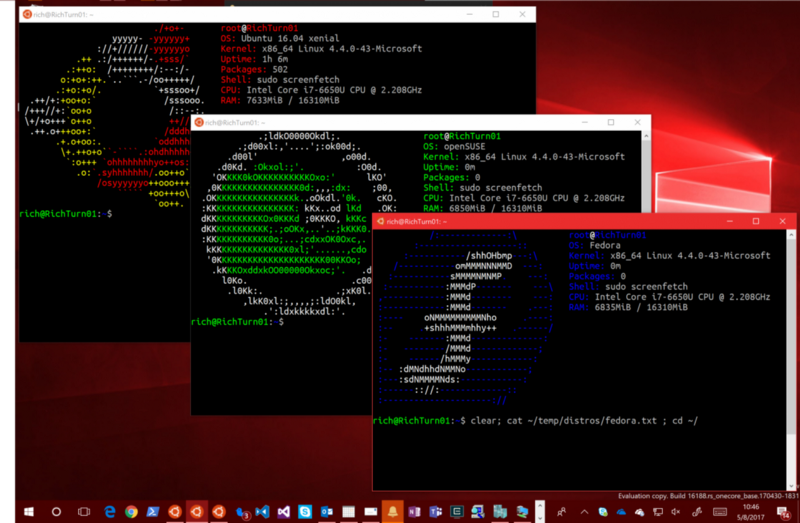
Yep. You can run multiple Linux distros, on your Windows PC, without virtualbox, dual booting, etc. This is native. And this is awesome.
I’m still in the early days of using it for my personal development, but it’s been a wonderful experience thus far! Vastly easier and better (IMHO) than trying to wrangle cygwin, git for windows with the bash emulation, and the many other solutions that attempt to bridge the gap to a *NIX experience. So, let’s dig in to how you can get this epic dev environment on your Windows machine.
Prerequisites
In order to use these instructions, you must be running Windows 10, updated to at least the Fall 2017 Creator’s Update. For the section on Docker, you must also have a machine that can use Hyper-V and hardware virtualization, something that requires Windows 10 Pro.
Install Ubuntu with WSL
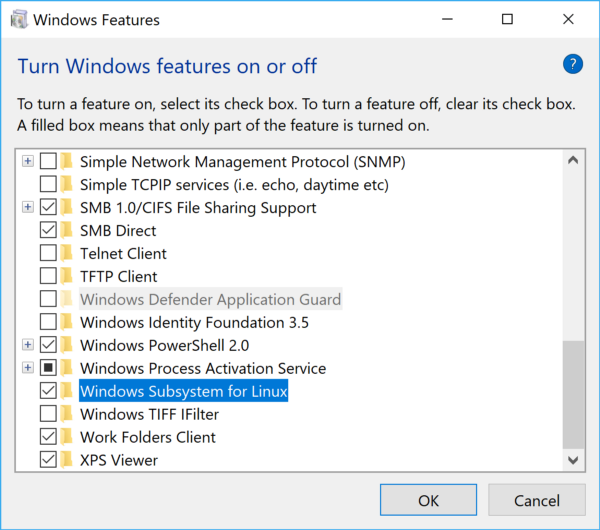
The first thing you need to do is enable WSL. Open “Turn Windows features on or off”, then in the dialog that appears, scroll down and check the box “Windows Subsystem for Linux” then select Ok. This will apply the changes, and reboot your machine when required.
Once you have WSL enabled, open the Windows Store and search for “Linux”. You’ll see a large banner prompting you to check out the Linux distros. At the time of writing, those were Ubuntu, openSUSE, and SUSE Linux Enterprise Server.
I chose Ubuntu as I am far more experienced with it. This article uses Ubuntu commands. Once you’ve installed the Ubuntu app from the Windows Store, open it and run lsb_release -a to see that yes, you are indeed running Ubuntu itself on your Windows machine.
Git
Many of the installations further on in this article require git. I decided to install and run git through WSL. To install, simply run sudo apt update && sudo apt install git. Upon installing git, I also generated an SSH key, as I would need to use that for pulling from and pushing to all my repos later. This is very simply accomplished by running: ssh-keygen -t rsa -b 4096 -C "your_email@example.com".
ZSH (Optional)
This next step is completely optional. I love bash, and I love zsh, so either one works fine. If you prefer bash, skip this section.
It’s fairly straightforward to install zsh. After making sure you’ve run sudo apt update then install it with sudo apt install zsh. You can test to make sure it’s working by running zsh which should bring you into a zsh terminal!
I also love oh-my-zsh, which provides lots of beautiful themes and excellent plugins. I used the curl command under the Basic Installation instructions, and I was good to go! You can then select the theme you want by editing your ~/.zshrc file and adding the theme name to the ZSH_THEME environment variable. Personally, I’m using Pure, a beautiful minimalist theme.
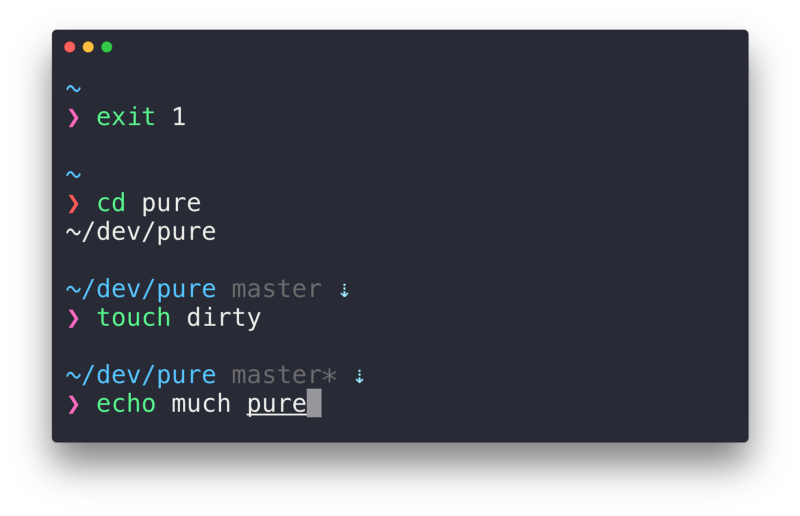
NOTE: Personally, when trying to use Pure and zsh with the Ubuntu terminal app, it had some styling and unicode issues. This is not a problem for me, however, as I use Hyper, which I go over below!
Hyper
Hyper by Zeit is one of my favorite things I love having on all my machines. It’s a beautiful terminal emulator with plugin and theme support. It was one of the first things I installed after installing WSL and Ubuntu. To get it working, simply open up your .hyper.js file and change the shell property to shell: 'wsl.exe' then save and close the file. Once you get back into Hyper, it should load up your zsh (or bash) terminal! From here on out, I exclusively use Hyper for all my terminal needs.
NOTE: Make sure there are no arguments in the shellArgs property. WSL by default uses the login shell.
Hyper Plugins
In case anyone out there hasn’t used Hyper, there are some good plugins I use that I recommend adding to your .hyper.js plugins array. They include hyperterm-material-dark, (disclosure: that’s my theme) hypercwd, hyper-tabs-enhanced, and for those moments of awesomeness, hyperpower!
Visual Studio Code
Even more than Hyper, Visual Studio Code is possibly my favorite piece of software ever. I’ve used IDEs, Sublime Text, Atom, Notepad++, I’ve tried almost all of the most used ones. VS Code is by far my favorite editor. It’s beautiful, incredibly lightweight, super fast, has tons of amazing extensions, built in debugger support, and is as close to full IDE functionality as any text editor I’ve ever used. I installed this as quickly as I could and brought down all my settings using the Settings Sync extension. (which I highly recommend using to sync settings across devices)
I bring this up because I have the integrated terminal in VS Code also set to use my WSL shell. To do this, I set the following setting: "terminal.integrated.shell.windows":"C:\\WINDOWS\\System32\\wsl.exe". Once you open the integrated terminal, you should be good to go!
Node.js/NPM
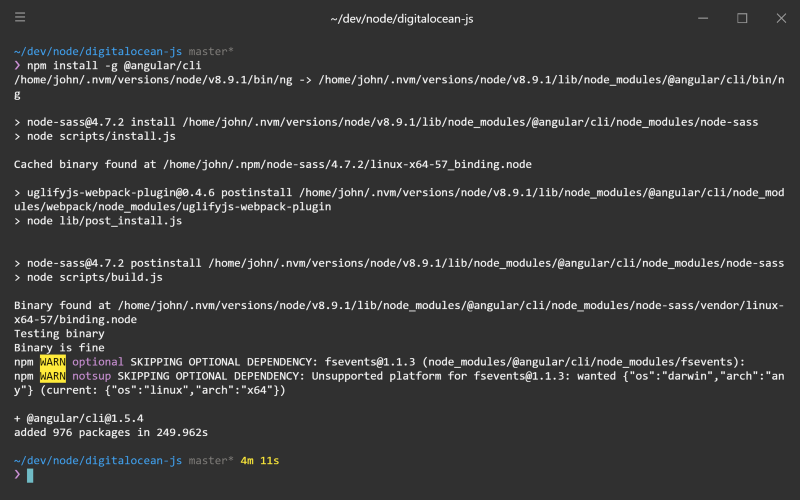
Personally I decided to take the approach of doing as much as absolutely possible inside of the WSL environment. Also, I am obsessed with NVM for managing my Node installs, which doesn’t work on Windows. So, instead of downloading the installer for Node.js for Windows, I installed nvm through Ubuntu’s repositories! You can follow the directions on NVM’s Installation Instructions. I used curl to download the install script, which I installed by running sudo apt install curl.
If you did everything right, you should have nvm installed correctly. I then installed the Long Term Support version of node by running nvm install --lts and then nvm use --lts to set it as the version I’m currently using. I also set it to my default node version by running nvm alias default {VERSION} where VERSION is the version number you just installed.
NOTE: I initially had some struggles where when I opened my Ubuntu terminal, it would give the error: N/A: version "N/A" is not yet installed After a bit of searching, I found that when I ran nvm ls it would list the installed versions of node. Under the lts versions, several had “N/A” because they were not installed. I installed those versions, and it stopped giving me the error.
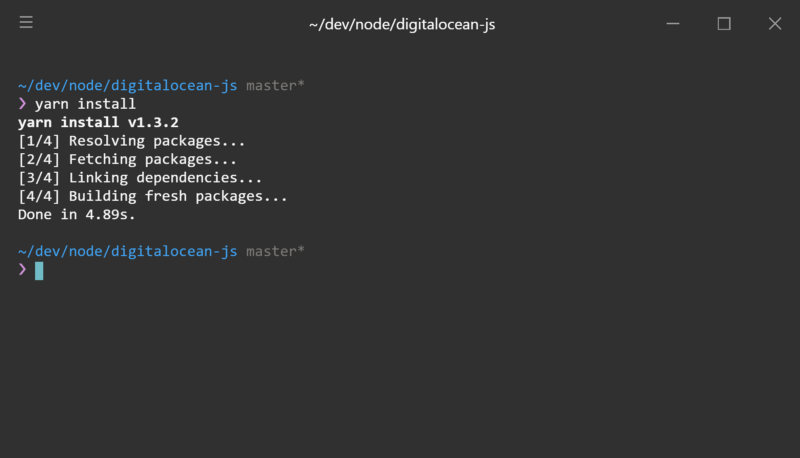
Yarn
As an aside to installing Node, I thought I’d bring up that I also installed Yarn, because I love Yarn. You can install it through Windows, but again, I’m trying to do everything I need through WSL, so I followed the Linux Installation Instructions. Specifically the Ubuntu/Debian instructions, of course. This went without a hitch, and I had yarn working!
Docker
First off, before we get into this, it is important to note that in order to run Docker for Windows, which makes use of Hyper-V virtualization, you must be running Windows 10 Pro. The Home edition does not have support for Hyper-V. This does not mean you can’t run Docker. You can still run Docker Toolbox, which uses VirtualBox. These instructions, however, only apply to Docker for Windows.
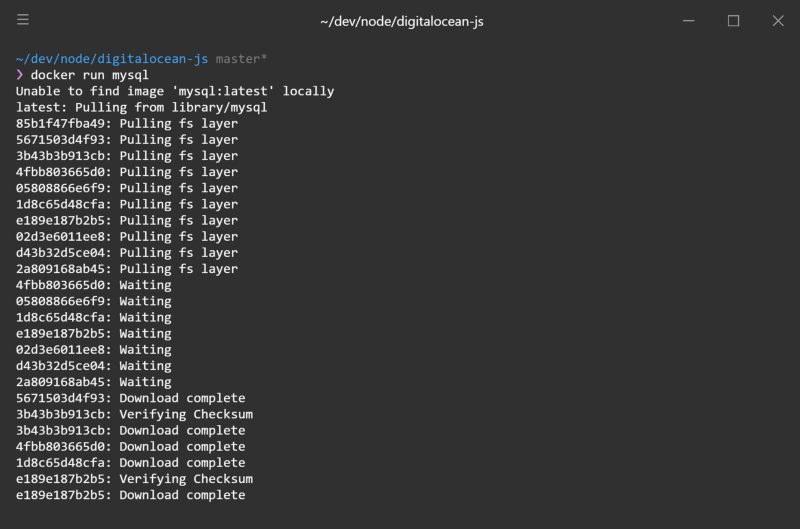
This is the one thing that I didn’t install through WSL. I installed Docker for Windows, due to its tight integration with the operating system. The experience with the Windows version is perfect for me, so I didn’t feel the need to install this using WSL. Perhaps down the road I’ll experiment with this.
I did, however, make it accessible from my WSL environment. After installing Docker for Windows (I had to go into the BIOS on startup and enable hardware virtualization as an extra step) and it was successfully running, I simply aliased it so it would be invoked the same way as on Linux/Mac. To my .zsh_aliases file, I added the following lines:
alias docker='docker.exe'
alias docker-compose='docker-compose.exe'
Upon restarting my terminal, I could invoke docker and docker-compose commands just like normal!
Last Words
First, massive props to Rich Turner and the rest of the team working on Windows Subsystem for Linux. They’re doing insane things to make life on Windows for the regular developers like me vastly easier and more enjoyable. Not all heroes wear capes, and these guys are definitely my heroes!
Finally, there will definitely be much more down the road in terms of tools and software that I’ll end up needing. Like I said previously, it’s still early days for me in terms of my usage of this development environment. I’m sure I’ll come across some annoyance I hadn’t run into previously. Every environment has those annoyances, however, and thus far I’ve been loving developing on Windows. I’ll be honest, that’s something I never thought I would say!