My Homelab
Homelabs are a fantastic way to learn about various tools and technologies but in a safe and non-production environment. This is my homelab in 2023.
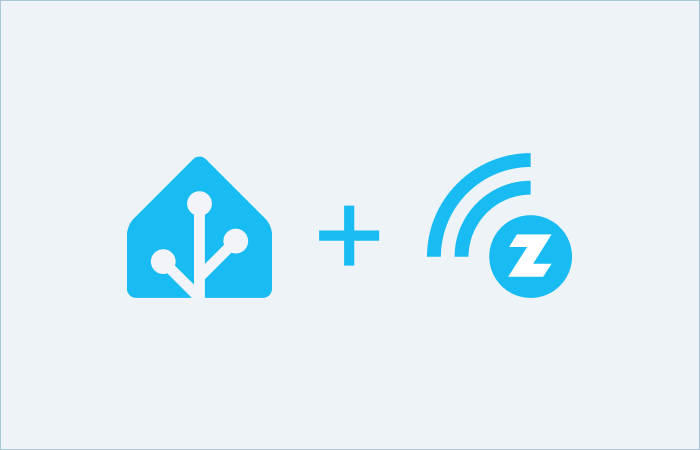
I have previously written posts about my Homelab, it’s a constantly ongoing side project for me. I love home automation, and at the center of my home automation is Home Assistant. It’s one of my favorite open source projects of all time due to the absolutely incredible range of high quality integrations for basically every smart device and platform imaginable. Also despite how complex this system is, it’s surprisingly easy to self host. You can either buy a pre-built device like a Home Assistant Yellow, or you can spin it up on your own server, computer, or even Raspberry Pi. Personally, I’m running Home Assistant OS as a virtual machine on my Proxmox server, and it has worked flawlessly for me. I’ve already got a bunch of integrations with various smart devices, but most of those are devices with cloud connections to provide the integrations. My long term plan is everything should be local-only, and for that I need a local-only communication protocol. Enter Z-Wave.
I personally chose to mostly go for Z-Wave devices. I did a lot of research on the various communication protocols for IoT devices and decided on Z-Wave. The other protocols and why I chose not to prioritize them are the following:
Wi-Fi: This was pretty easy to disqualify. The more Wi-Fi devices you have the more clogged your wireless spectrum becomes. (especially if you’re in an apartment building) That can negatively impact your Wi-Fi experience, and even things like wireless speakers can have degraded performance as a result.
Bluetooth: Another easy one to disqualify, the range is super low by comparison to other protocols. Doesn’t work for the majority of devices.
Zigbee: This was the primary contender for me. It’s cheaper than Z-Wave, but unfortunately it works on the same 2.4 GHz band as Wi-Fi, which means you have the same issue of clogging the band the more you get. So while I was initially planning on this, I opted not to in the end.
Matter: This one is still quite new by comparison which means there is not a lot of device support. Also it uses the same 2.4 GHz band as Wi-Fi and Zigbee (although it can use other bands) so at the moment there’s not enough reason for me to use it.
There are more protocols, but those are the main ones you’ll read about when you are doing research most of the time. Z-Wave works exceptionally well, and despite being a little more expensive than some of the alternatives, it works great for excellent connectivity without clogging up your 2.4 GHz band. So that’s what I chose and why I chose it.
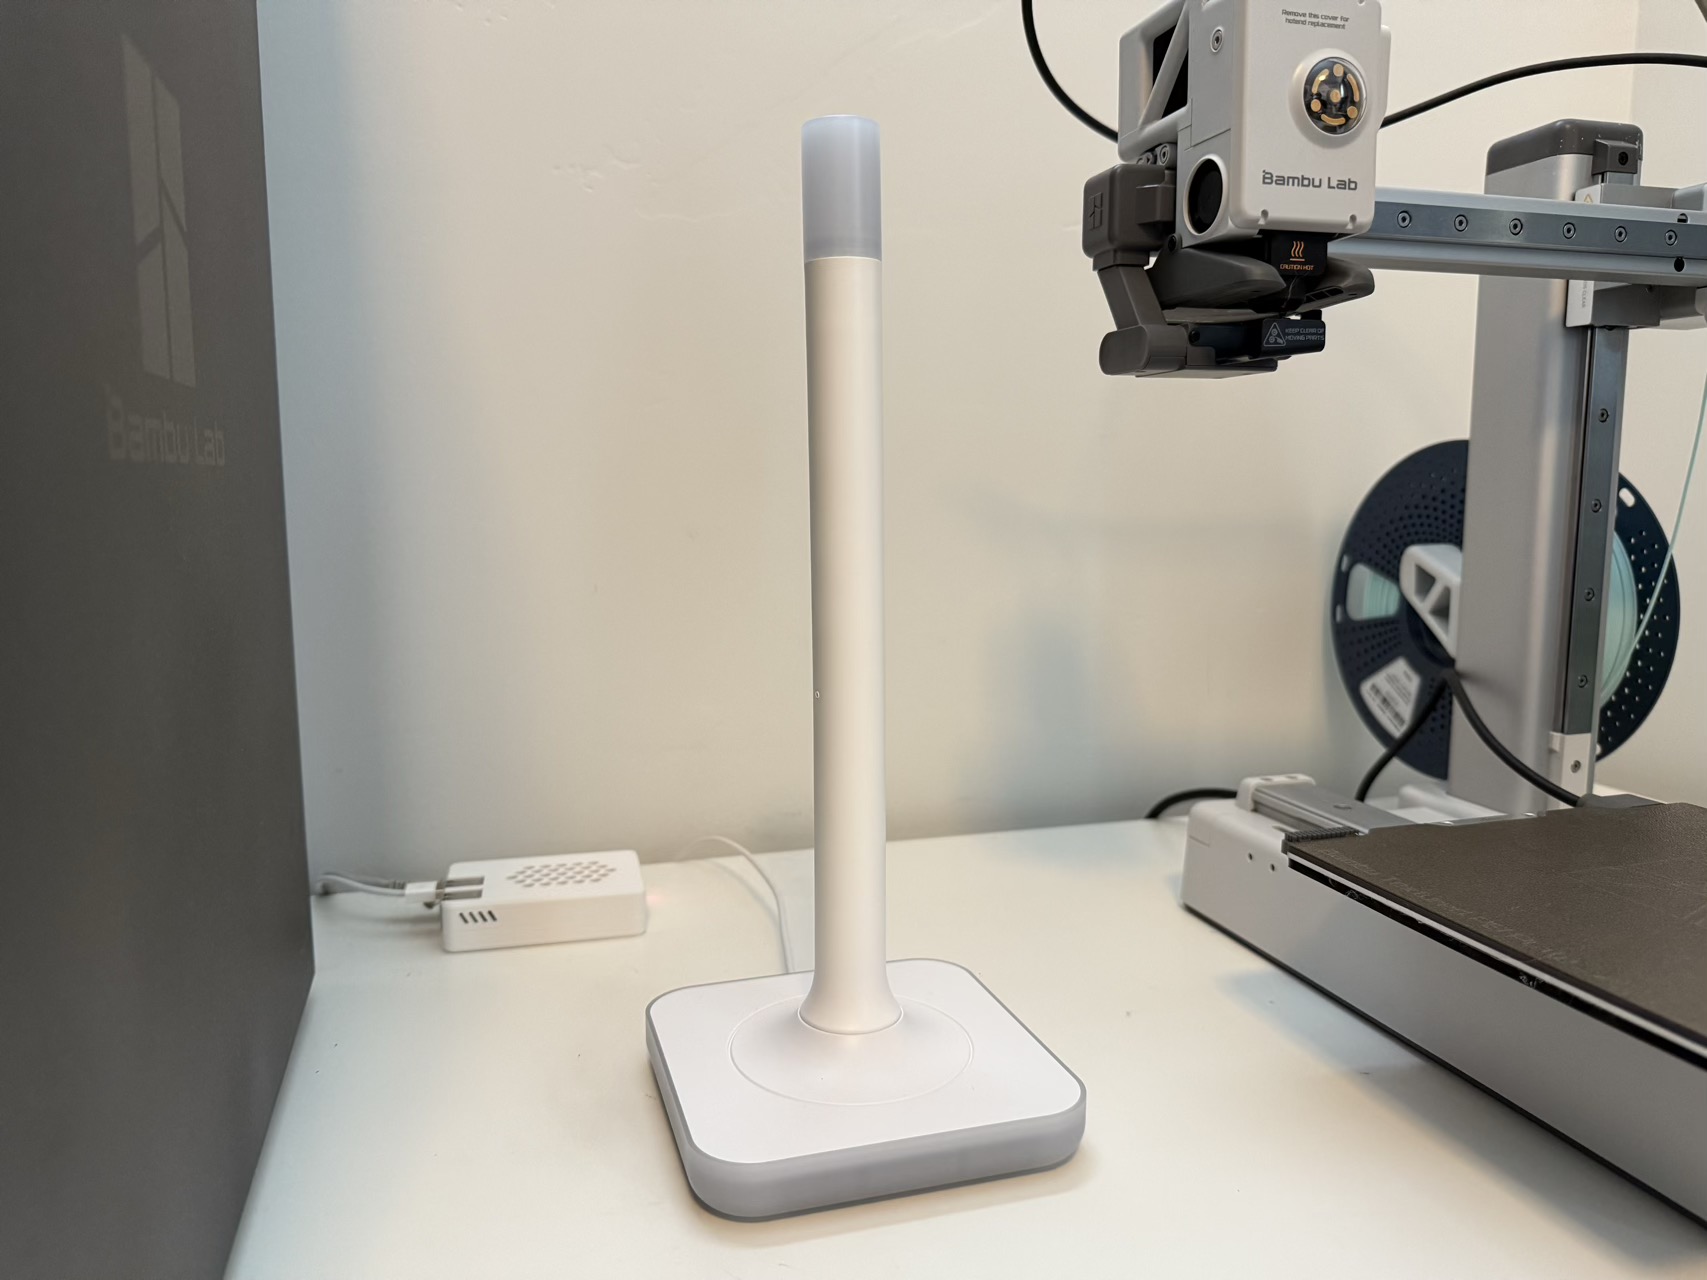
There are a ton of options for Z-Wave hubs/sticks. I opted to get the awesome “Paper Towel Holder”, the Home Assistant Connect ZWA-2. It’s big so it’s not for everyone, but it works great for me since it’s in my office so it’s not in the way. I also like that it supports both Z-Wave and Z-Wave Long-Range so I don’t need to get a new hub in the future for longer-range devices. There are absolutely cheaper and smaller options like the many USB sticks out there such as the Zooz 800 Series Z-Wave Long Range S2, so pick the option that works best for your needs.
The antenna I use, as well as most of the Z-Wave stick options, uses USB for the connection interface. I had a few issues I needed to work out when it came to the initial setup. Due to the fact that I use an enterprise server running Proxmox with a Home Assistant VM, it wasn’t trivial to simply plug in the antenna because there are only a couple USB ports on the server mainly used for keyboard and mouse. In addition to that I would need to pass through the USB to the VM. Finally, even if I did all that, my server rack is in my basement so it wouldn’t be the greatest placement with regards to where most of my smart devices will be.
I decided instead to put the antenna in my office which is a much more central location in my house. I had a spare Raspberry Pi so I could plug it in to that. I next went back and forth on how to connect it to Home Assistant. I mainly looked at two options: USB-over-IP or Z-Wave JS UI. The first is exactly how it sounds, passing the USB device via the network. While that would work, it didn’t give me any benefits. I instead opted to install Z-Wave JS UI on the Raspberry Pi and connect that to Home Assistant via their Z-Wave JS integration. I’m quite happy with how it’s working, it was a seamless setup, and it’s been rock solid. I love how all the devices are immediately available in Home Assistant for use. While I agonized over the choice originally, I’m very happy I chose the method I did. Note that when you’re setting up the Z-Wave JS add-on in Home Assistant that you should choose the “custom install” flow, which is where you can connect your remote pi’s websocket address. The other method will install the full software instead of just connecting to your already existing one. I’m not doing a step-by-step instruction guide because there are way better options out there for that on YouTube and otherwise.
In terms of positioning, while this technically should work just about anywhere due to the huge antenna and long-range technology, I opted to do it in a more central location in my office. The antenna and pi look just great sitting in my office next to my 3D printers. (I should probably do a post on 3D printing sometime…)
The main issue I originally had with Z-Wave years ago is I didn’t understand really how they worked or how security worked. So the Wi-Fi devices just seemed “easier”. I’ve since learned all about it and love how Z-Wave works. Thankfully each of my devices I already had were ones where I could find the QR code sticker on the device somewhere to give me the DSK (device security key) so I could actually set them up securely. This 5-digit code is VERY important to not lose. Most light switches I’ve seen have the QR code sticker on the switch itself so I just removed the plate and pulled it out to get the code. My door lock didn’t have one but thankfully I found where the door lock manual was. So, in short, when you buy Z-Wave devices, I would highly recommend you keep the manuals with the stickers in them. As an even better alternative, I just put the codes in my 1Password vault in a secure note for each device just in case I lose the manuals. You always want to use the proper device security instead of setting them up as insecure connections, otherwise your smart home will turn out to be not-so-smart.
I also had my devices already connected to my thermostat which has a Z-Wave antenna built-in (although it’s got terrible range and didn’t work half the time, hence holding off investing in Z-Wave) so I had to exclude the devices from that before I could include them in my new network. Thankfully that was pretty easy, I just put the thermostat in exclusion mode and then toggled the device I wanted to exclude. Inclusion basically works the same way I just first put my Z-Wave JS in inclusion mode and then toggled the device. As part of inclusion you’ll need to enter your DSK mentioned previously so it can connect securely. Super easy and they worked flawlessly.
Now that my network is set up powered by this antenna, I can start obtaining more Z-Wave devices to put around the house. I’ve purchased some Zooz dimmer switches That I plan on using to replace switches for the lights I most want to automate. For me the top of the list are outdoor lights that I always forget to turn off in daylight, and basement lights that I hate having to go downstairs to turn off manually when we forget to turn them off. Soon I also want to get some presence sensors that I can use to keep lights on when someone is present in a room and turn them off when they leave. So many cool things that can be automated.
The nice thing is the ZWA-2 I bought will be more than enough for my needs as I build out my Z-Wave network. I love having as many of my IoT devices as possible as local devices not reliant on cloud services. Obviously you can’t escape it for some devices, but as much as I can I’ll be choosing devices with Z-Wave support. Hopefully you enjoyed reading about my Z-Wave setup and my considerations for my personal setup. Automate all the things!